5 LAYOUTS · 1200 WALKWAY · 900 BENCH · 600 MODULE
Kitchen layouts explained: the room chooses the plan
Five layouts cover almost every kitchen in Oakleigh: single-wall, galley, L-shape, U-shape, and a run with an island. Which one you end up with is decided less by taste than by the room itself — its internal width, where the window sits, and how many doorways people walk through on the way to the back door. This guide sets out how each plan behaves once the dimensions are on paper.

01 · 1200 / 1000 / 400
The triangle, and what outranks it
The work triangle — sink, cooktop, fridge — is a useful first check, not a rule. Keep the three legs short enough that you are not walking the room to drain a pot, and long enough that two people are not fighting for the same square metre. Most kitchens settle somewhere between a metre and two and a half metres per leg.
What actually decides whether a layout works is the set of clearances around it. These are the numbers we test before any plan is drawn, because a triangle can look perfect and still leave a drawer that cannot open:
02 · SINGLE-WALL · GALLEY · L · U · ISLAND
The five layouts, compared
Single-wall
Galley
Two parallel runs with a walkway between them. Nothing is more efficient per square metre: the cook turns rather than walks. Put the sink on one run and the cooktop on the other so two people are working across the space, not behind each other. The failure mode is traffic — if both ends of the galley are doorways, the household walks through the working zone all day.
L-shape
U-shape
Run plus island
03 · SINK · COOKTOP · FRIDGE
Where the sink, cooktop and fridge land
Once the layout is chosen, three fixed points set the rest of the plan: the plumbing, the exhaust run and the entry to the room. Each one is placed against the walls you already have, in the order below.
03 · SINK
The sink goes where the plumbing and the daylight agree
Under a window if the wall allows it, because you stand there longest. On the island only if you accept a waste line through the floor and a bin drawer beside it. Keep the dishwasher within a pace of the bowl, on the side you unload towards, and leave one uninterrupted stretch of bench for draining.
03 · COOKTOP
The cooktop follows the exhaust
Ducting is easier on an external wall, and an overhead rangehood wants a straight run out. Never set a cooktop hard against a return wall or at the end of a bench — you need landing space each side and a splashback that can take the heat.
03 · FRIDGE
The fridge sits at the edge
Put it at the end of a run, near the entry, so groceries and drinks never cross the cooking zone. Check the hinge side, the door swing and the ventilation gap before the cabinetry either side is set out.
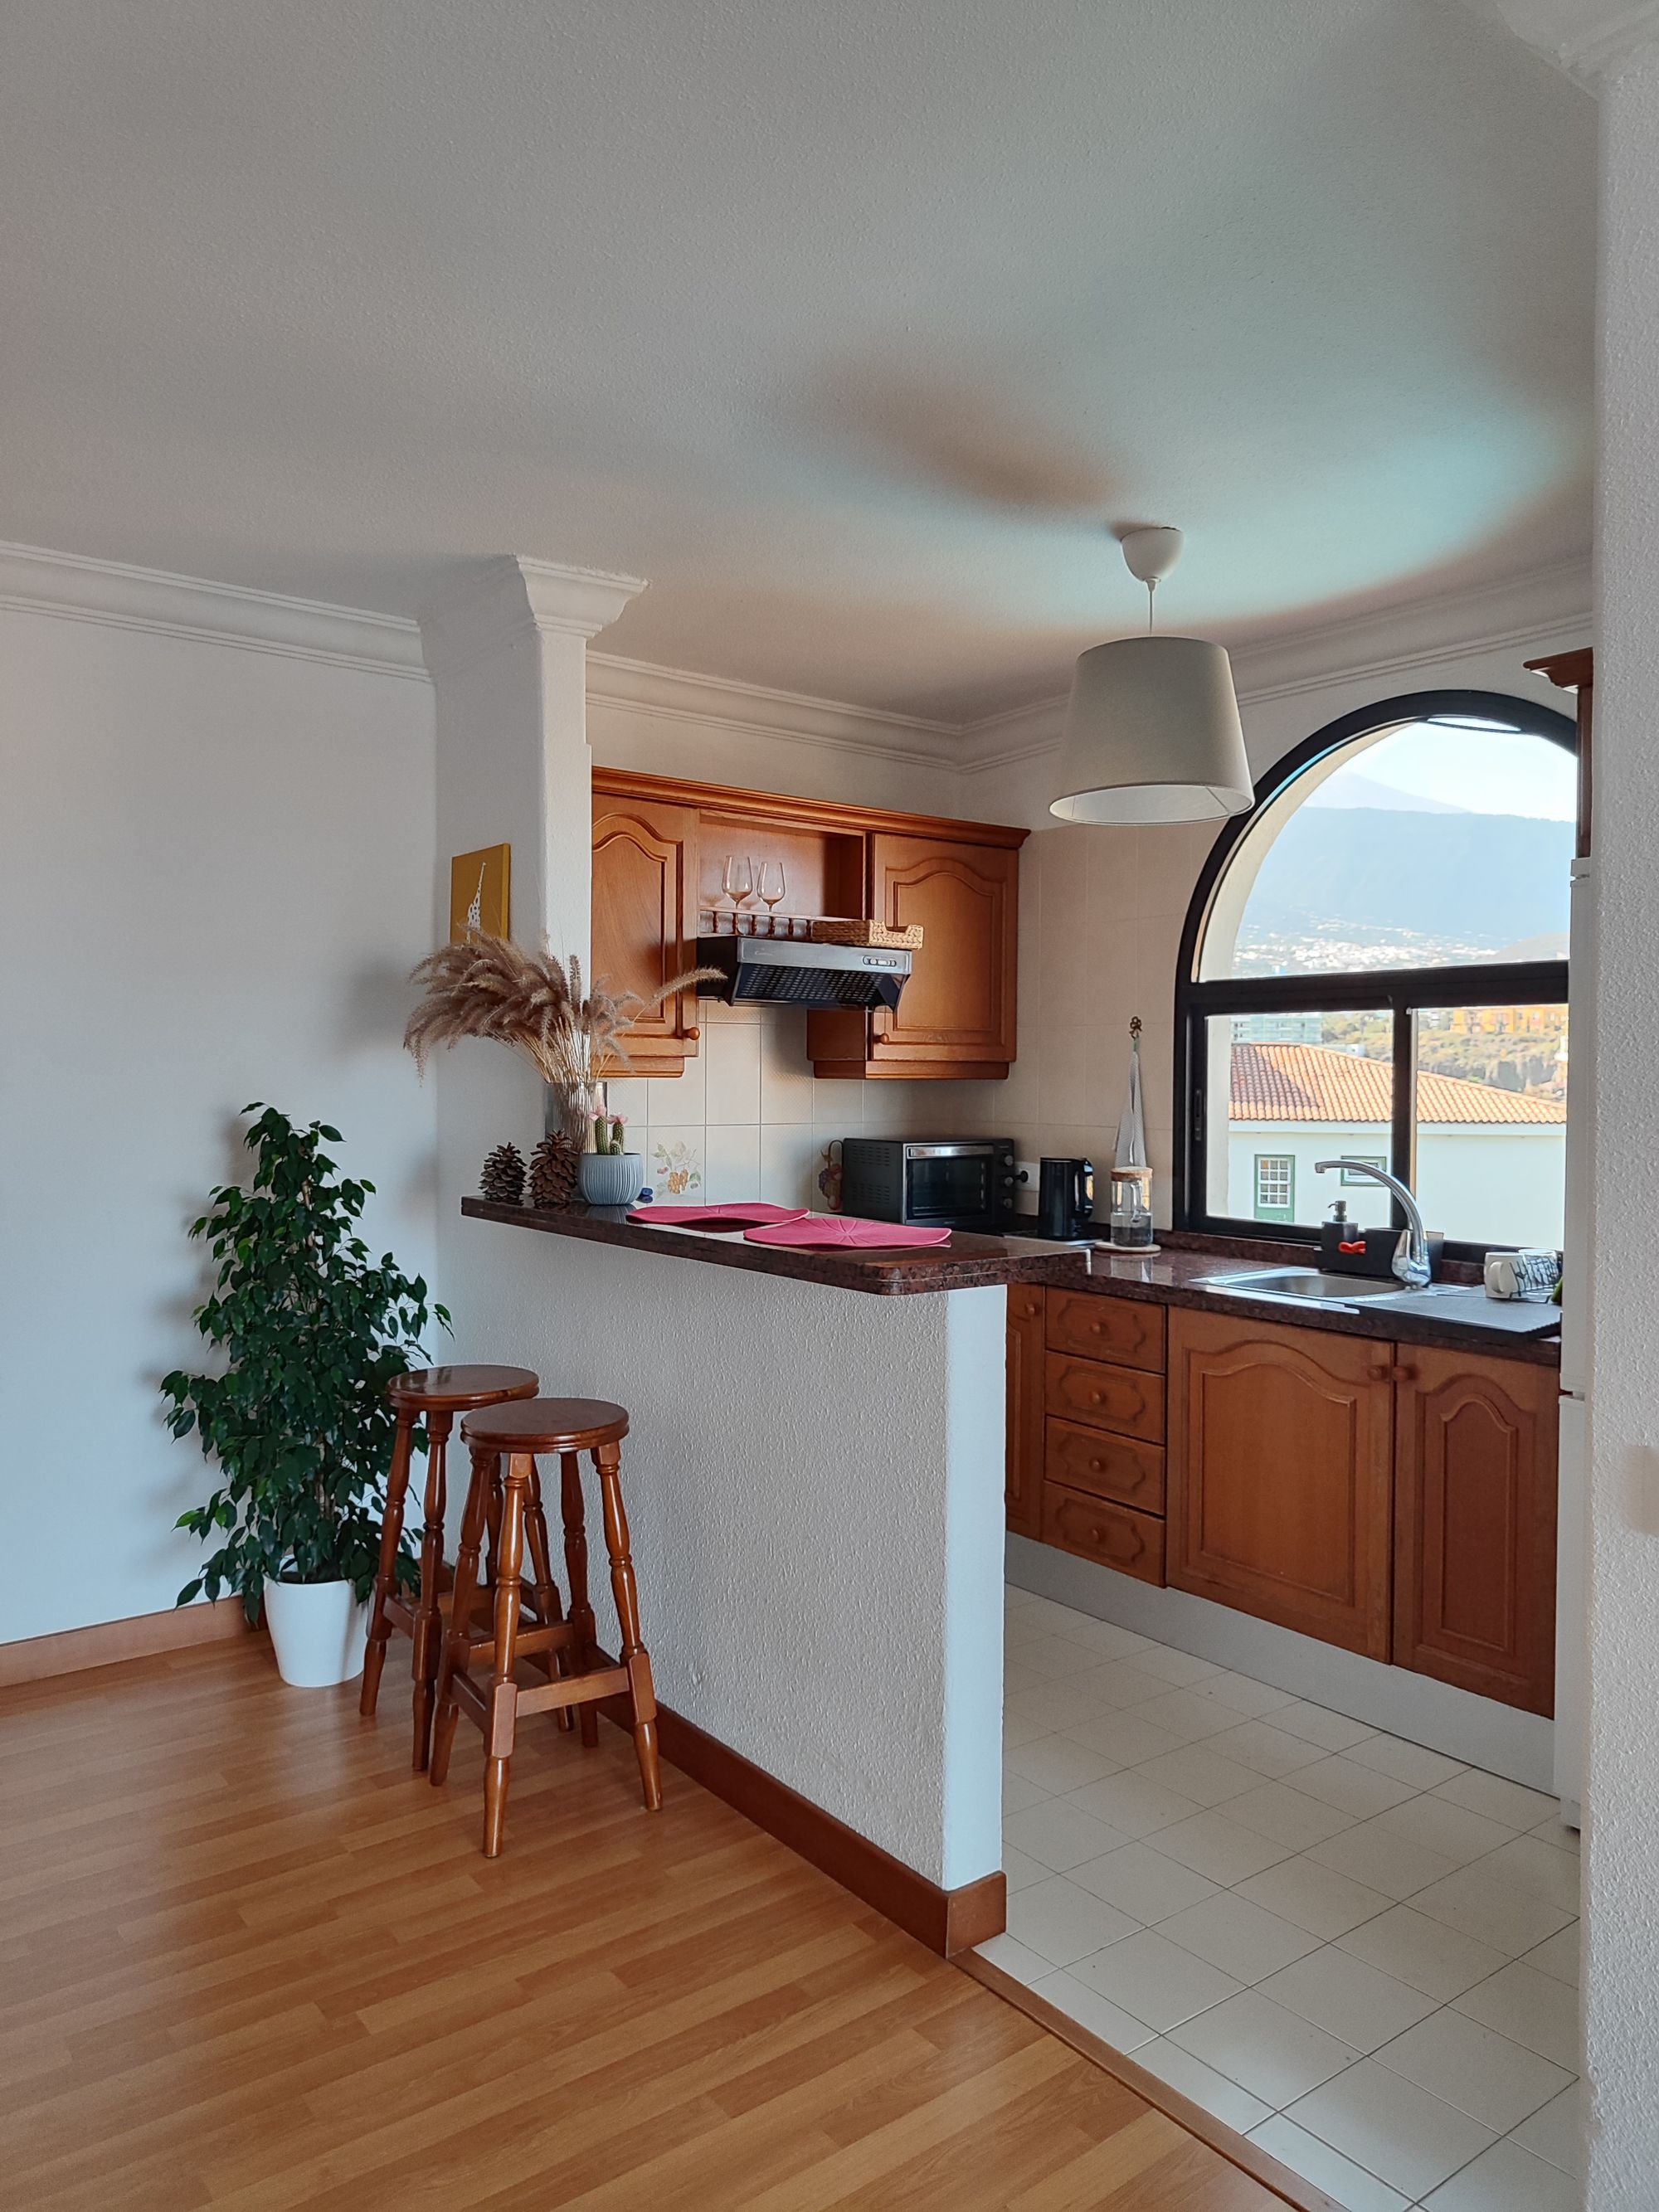
04 · ONE WINDOW · TWO DOORWAYS
Windows, doors and the line people walk
Before any layout is chosen, the room is marked up with what cannot move: window sill heights, door swings, the meter box, the waste stack, and the path from the hallway to the back door. Those fixed points usually eliminate two of the five layouts immediately.
A window low in the wall rules out overhead cabinetry on that run, which pushes storage to a tall bank elsewhere. Two opposing doorways rule out a galley used as a corridor. A single wide opening into a living space argues for an L-shape with an island so the cook still faces the room. And a chimney breast or a bulkhead often decides which wall carries the cooktop, because that is where the exhaust can go.
05 · READ NEXT
Take the layout further
1200 · 900 · 600
Bring us the room, not just the wishlist
Send the shape of the space, the window and door positions, and how you actually cook in it. We will tell you which of the five layouts the room can carry — and which one it cannot — before anything is ordered.