
600 UPSTAND · 10MM TOUGHENED · 2340 FULL HEIGHT
Splashback ideas: the surface that either disappears or leads
Between the bench and the overheads sits roughly 600mm of wall. It is the smallest surface in the kitchen and the one people notice first, so it gets chosen last and regretted most. This guide sets out the decision in order: role, then material, then format and grout.
2 ROLES · 1 DECISION · 600 GAP
Decide first whether the wall is meant to speak
A splashback has one structural job — keeping water, steam and cooking oil off the wall behind a working bench — and one visual job, which is where the arguments start. In most kitchens it should be the quietest surface in the room: one colour, running behind the joinery so the eye reads cabinetry, bench and window instead. In a few, it is the only place pattern genuinely belongs, and then everything around it has to step back.
The benchtop settles it. If the slab carries strong veining, the wall above should sit close to plain, or the two compete across a 600mm gap and the room never rests. If the bench is a flat, near-solid colour, the wall can hold the texture — a glazed tile with movement in the surface, a vertical stacked format, a stone with a coarser grain. Choose the two together, on the same table, in the same light.
3 MATERIALS · TILE · GLASS · STONE
Then choose the material
Once the wall’s role is settled, the shortlist is short. Three material families cover almost every Oakleigh kitchen, and each one decides how the wall is cleaned, how it is measured and when it can be ordered.
75×300 · 100×100 · 600×600
Ceramic and porcelain tile
The most forgiving option and the easiest to repair years later. Grout lines are part of the design, not a by-product, so the layout is drawn before anything is ordered. Handmade glazes vary between batches — order from one batch, with overage for cuts and breakage.
6MM · 10MM TOUGHENED · 1 SHEET
Glass and mirror
One sheet, no grout, cleaned in a single pass — which is why it suits the wall behind a cooktop better than almost anything else. It is templated after the cabinetry and benchtop are installed, so cut-outs for power and tapware land where they truly sit rather than where a drawing predicted. Back-painted glass reads as flat colour and picks up the light; antique mirror throws a window back into a dark galley, but shows every fingerprint at close range.
20MM · FULL HEIGHT
Full-height stone
The benchtop material carried up the wall, vein-matched where the slab allows. Nothing to clean but the surface itself, and the joinery reads as one piece. It commits you to the slab, so choose it at the yard, not from a sample chip.
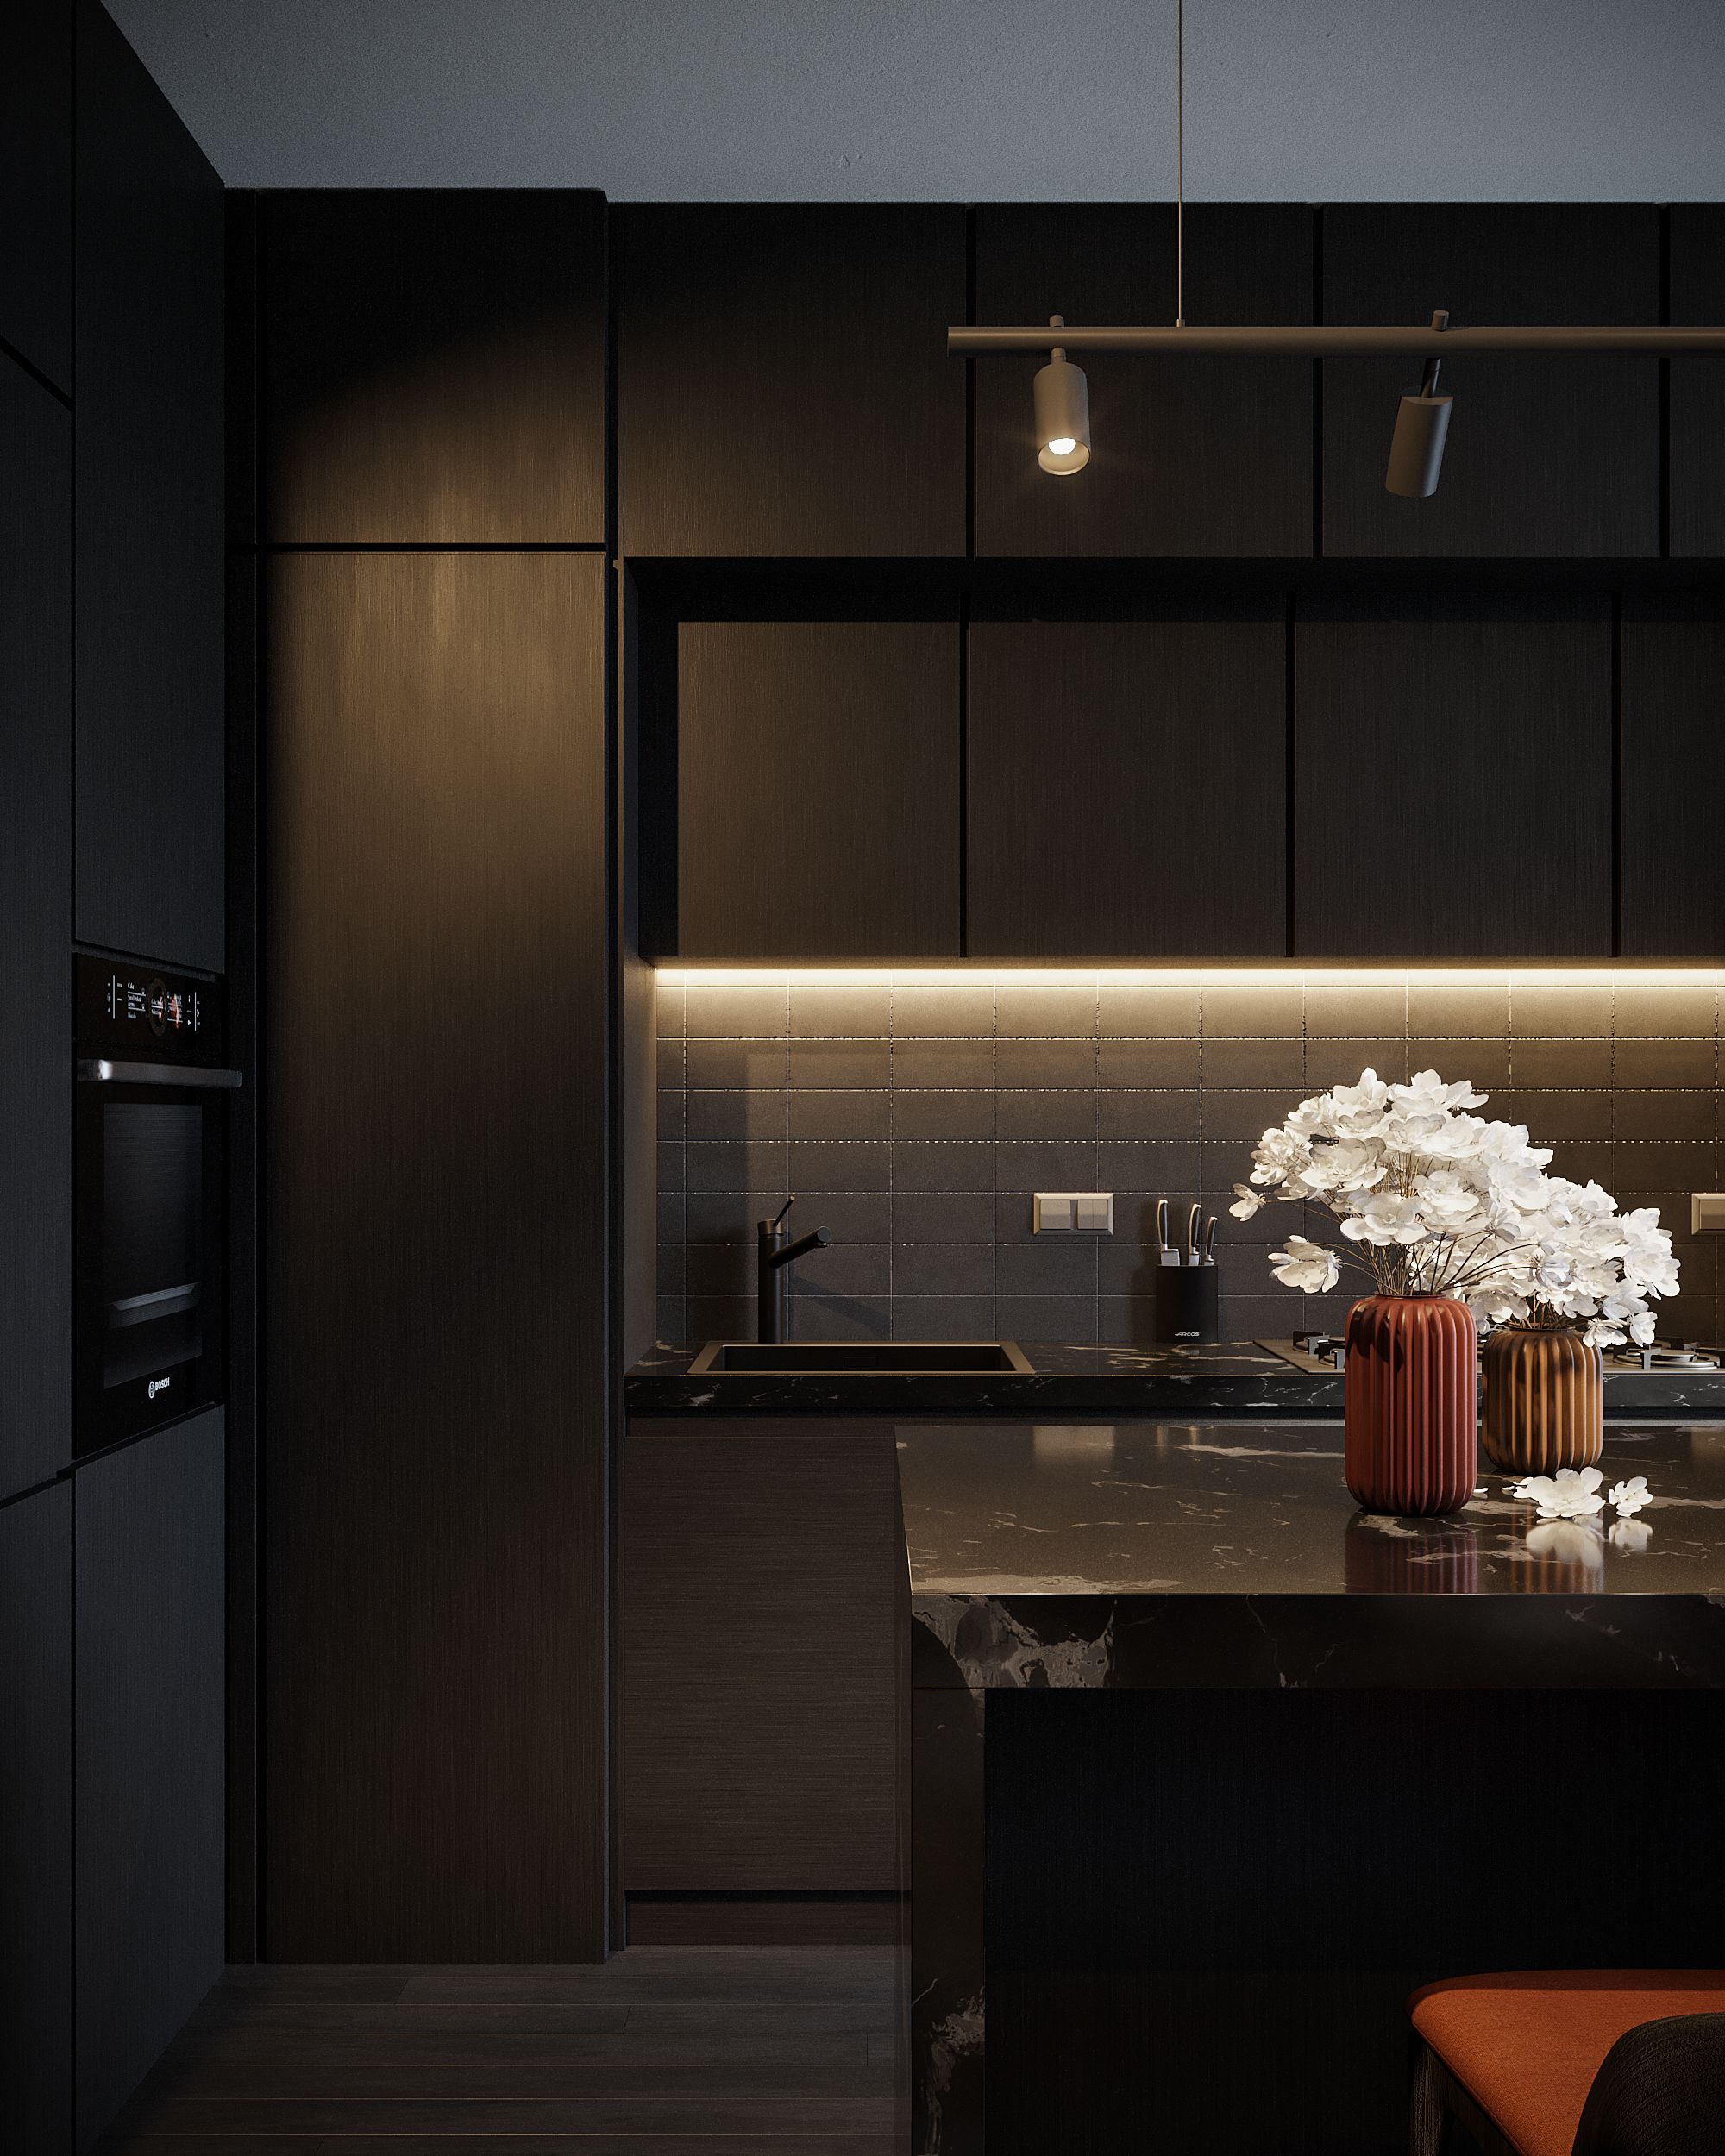
Reference photo — a dark scheme where the tiled wall stays tonal with the cabinetry, and under-cabinet light does the work the pattern would otherwise have to.
4 FORMATS · 1 GROUT DECISION
Format, pattern and the grout line
Pattern in a splashback comes mostly from geometry rather than colour. The same white tile laid in running bond looks traditional, stacked vertically looks current, and set in herringbone becomes the feature of the room. Decide the direction before the quantity, because a diagonal or herringbone layout needs noticeably more tile and far more cutting at the ends of each run.
Then the grout, which changes the result more than most people expect. Matched to the tile, the wall reads as one soft surface and the joins vanish. Contrasted, the grid becomes the pattern — strong in a small kitchen, relentless across a long run. A mid-tone grey is the honest middle: it holds its colour behind a cooktop instead of shading unevenly over the first year.
Offset brick lay. Quiet, familiar, and the least wasteful to set out.75×300 · STACK BOND
Laid vertically, joints aligned. Lifts a low ceiling and reads current.HERRINGBONE · 45°
Becomes the feature. Budget extra tile and time for the cuts at each end.600×600 · LARGE FORMAT
Two or three joins across a whole run. Needs a flat, true wall behind it.
04 CHECKS · STAGE 10 OF 13
Four checks before the selection is signed off
Appliance documents set the clearances above and beside a cooktop, and some materials are ruled out by them. Check the specification sheet for the actual cooktop before the wall finish is locked, not after.02 THE DIRTY ZONE
Almost all the cleaning happens in the 400mm directly behind the burners. If you want texture or a narrow grout grid elsewhere, consider running a single uninterrupted sheet or slab across that zone.03 POWER AND JOINS
Socket and switch positions belong on the drawing early. Set out that way, cut-outs fall on a sensible line instead of halfway through a pattern or a vein you paid for.04 ORDER OF WORK
The splashback is measured off finished surfaces — installed cabinetry and a templated benchtop — which is why it sits where it does in the sequence, after the bench and before the final fit-off.
1 WALL · 3 MATERIALS · 1 SET OF DIMENSIONS
Bring the tile, the bench sample and the room's measurements
Splashback decisions are quick once the layout and benchtop are settled, and slow when they are made in isolation. Tell us the kitchen you have, the cooktop you intend to use and the look you are after, and we will work the wall finish into the drawing with everything else.