600 BENCH-TO-OVERHEAD · 6MM GLASS · 20MM SLAB
Kitchen splashbacks: tile, glass and full-height stone
The splashback is the last surface decided and the first one anybody looks at. It is also the smallest area in the room, which is why it can carry a material the rest of the kitchen could not afford. The decision is dimensional before it is decorative: what sits above the bench, where the rangehood lands, how tall the return runs.
FOUR MATERIALS · ONE WALL
Four materials the wall can be made of
The four columns below set out what each material asks of the wall — joins and grout, templating order, cleaning, and how much of the budget a small area can carry.
75 × 150 · 300 × 600 · 600 × 1200
Tile
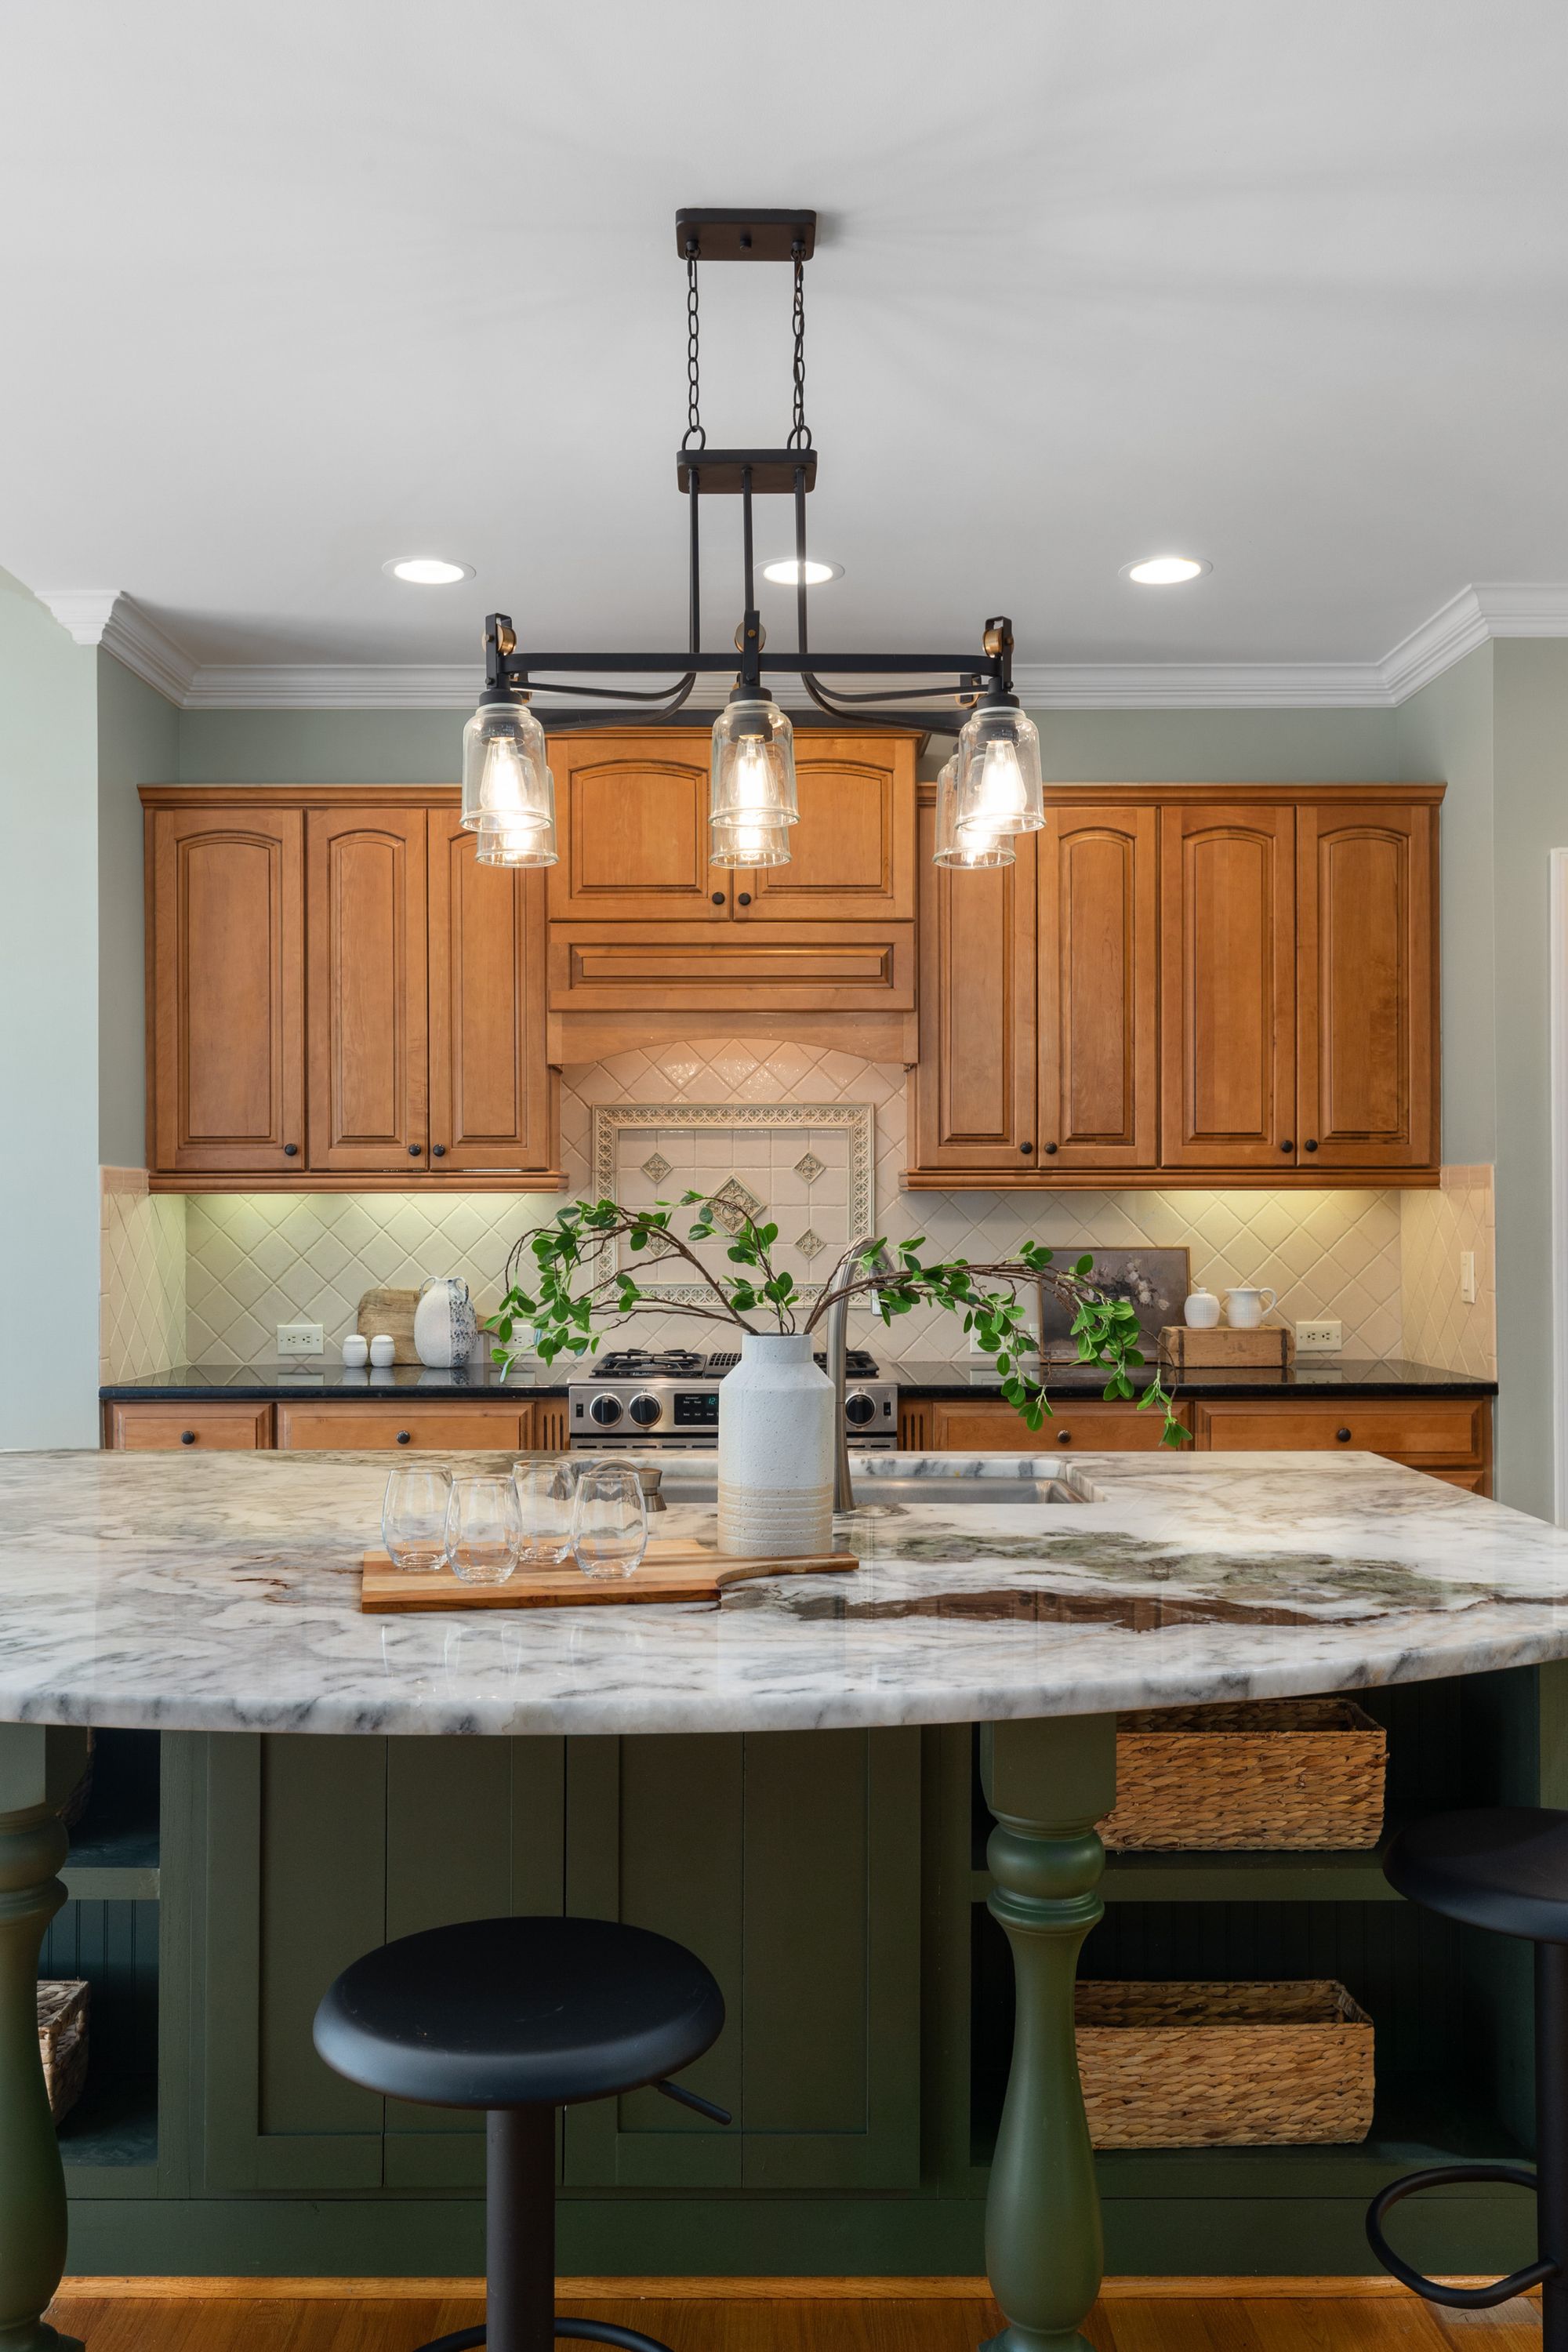
Subway, handmade-look, fluted and large-format porcelain. Tile gives the widest choice and the most forgiving budget, but it introduces grout lines, so the layout has to be set out to the cooktop centre and the window reveal rather than started from a corner. Large formats reduce joins; small formats add texture and more cutting.
6MM TOUGHENED
Glass & mirror
A single seamless sheet, painted to a chosen colour or left low-iron clear over render. Nothing to grout and nothing to clean around. Mirror and antique mirror bounce light back into galley kitchens but show cooking marks faster. Both are templated after cabinetry and benchtops are in, never before.
20MM · FULL HEIGHT
Stone slab
The benchtop material carried up the wall so the veining runs continuously from horizontal to vertical. Best planned at the same time as the bench, from the same slab, with the join at the bench nose considered on the drawing. Porcelain does the same job in a thinner sheet for very tall returns.
0.9MM
Metal
Stainless or patinated sheet behind the cooktop only, usually folded to the rangehood width. A working surface rather than a feature.

Reference photo: small-format tile set out square to the overhead run, with the pattern stopped cleanly at the cabinet line.
600 · 750 · 2340
What the wall actually gives you
The visible height of a splashback is a leftover dimension. A 600mm gap between benchtop and overhead cabinets is the usual setout, but that band shrinks wherever a rangehood, an undermounted canopy or a bulkhead intrudes, and it disappears entirely on a wall with a window over the sink. Above a cooktop the clearance is set by the appliance manufacturer’s specification for that model, not by taste, so the rangehood and cooktop are selected before the splashback is drawn.
SIX STEPS · AFTER STAGE 09
Where the splashback sits in the build
THREE FINISHES · ONE DECISION
Choosing it alongside the bench and the doors
FOUR QUESTIONS
Asked at selection stage
Can a splashback be replaced without touching the rest of the kitchen?
Is full-height stone worth it over tile?
It buys continuity of veining and a wipeable surface with no grout. It costs more, needs a slab with enough length, and locks the look in. Tile keeps more options open and is easier to repair in a single spot.
What happens behind a gas cooktop?
The material behind and above a cooktop has to suit that appliance’s clearance and heat requirements. We confirm the model early so the splashback choice, the rangehood and the cabinetry above are drawn to the same dimensions.
How do we keep grout lines looking clean?
Narrow joints, a grout tone close to the tile rather than a stark contrast, and silicone at every change of plane — bench to wall, wall to overhead, internal corners. Those junctions are where a splashback ages first.
600 · 750 · FULL HEIGHT — TELL US THE WALL
Get your splashback drawn with the rest of the kitchen
Splashback work is quoted as part of a measured setout across Oakleigh, Oakleigh South, Oakleigh East, Hughesdale, Huntingdale, Carnegie, Murrumbeena, Chadstone and Clayton — whether it is one wall in a refresh or the vertical surface in a full rebuild.