Home  /  Kitchen Guides  /  Renovation Checklist

3 HEIGHTS · 4 CORNERS · 6 CHECKS BEFORE DEMOLITION

Kitchen renovation checklist: what to settle before the first cabinet comes out

A kitchen runs to thirteen stages, and five of them happen before anything is pulled off a wall. Most of what goes wrong on site is not a building problem at all — it is a measurement nobody wrote down, an appliance nobody specified, or a room nobody emptied. Work through this in order.

IN ORDER OF WORK
01   Measure the room and record the services02   Confirm every appliance03   Lock the selections04   Approvals, owners corporation, access05   Empty and clear the room06   Set up a temporary kitchen

Items one to three belong to consultation, measure and design. Four to six are the fortnight before demolition.

A person measures and marks a timber board with a tape measure and pencil on a woodworking bench.

01 · WALL LENGTHS AT FLOOR / 900 / CEILING

Measure the room, then record what you cannot see

Rooms are rarely square and old walls bow. Measure each wall three times — at the floor, at bench height and near the ceiling — and use the smallest figure. Everything drawn later sits inside that number.

Ceiling height in all four cornersWindow sill height, reveal depth, and which way every door swingsPosition of waste, water, gas point, meter box and existing powerFloor covering, its thickness, and any fall across the roomOne photo of each wall, plus the room from each corner
Your figures are a starting point, not the setout — the room is re-measured on site at stage two. They are enough to begin custom kitchen design and to make an early conversation useful.

02 / 03

Specifications before drawings

A cabinet is built to the appliance, not the other way round. Two lists, both finished before a single panel is ordered.

APPLIANCES · MODEL NUMBERS · CUTOUT SIZES

Confirm every appliance

Write down the exact model of each appliance you are keeping or buying, then the cutout dimensions from its specification sheet. A 900 cooktop and a 600 oven change the cabinet list completely, and a fridge that opens the wrong way can block a walkway for the next fifteen years.

Oven and cooktop: width, cutout, power or gasRangehood: ducted or recirculating, and where the duct runsFridge: height, width, depth, hinge side, door swing clearanceDishwasher, microwave, sink and tap: integrated or freestanding

SELECTIONS · ONE SAMPLE OF EACH

Lock the selections

Gather one physical sample of every finish and lay them together in the room’s own light, not under showroom lighting. Benchtop material and edge profile, splashback, door finish and handle, sink and tap, flooring, paint and lighting positions. Stone is templated after cabinetry is installed, so the benchtop and splashback choices still need to be final before the build starts — a change of mind here is the most common cause of a stalled site.

04 · APPROVALS · ACCESS · WORK HOURS

Approvals, owners corporation and getting things into the room

Most kitchen renovations are internal work and nothing more. Three situations change that, and all three are cheaper to discover now than on demolition morning.

Apartments and units. Ask your owners corporation about permitted work hours, lift and stair protection, waste removal and whether written approval is needed before trades attend. Some buildings require notice in weeks, not days.Walls, windows and structure. If a wall is coming out or an opening is changing size, that is assessed at design stage so any engineering and approvals run in parallel with cabinetry, not after it.Older homes. If the house dates from before the early 1990s, have existing wall sheeting and floor coverings assessed by a licensed professional before anything is cut or lifted.

ACCESS · 2340 TALL CABINET

The path in

— Width of the front path, hallway and any tight corner— Whether a 2340 tall cabinet can be stood up inside the room— Where a skip or waste pile can sit, and whether a permit is needed— Parking for a work vehicle across the day— A working power point clear of the work zone— Keys, alarm codes, and somewhere the dog can be

05 / 06 · TWO DAYS BEFORE · THREE BOXES

Empty the room, then plan to live without it

Clear every cabinet and drawer at least two days before strip-out, and sort as you go rather than moving the whole lot twice. Three destinations: daily items that travel to the temporary bench, seasonal items that go into storage, and everything that has not been touched in two years and should not come back into the new kitchen at all. That sort is also the most honest storage brief you will ever write.
A trestle or spare bench elsewhere in the house: kettle, toaster, microwaveFridge relocated to a checked power point on the same circuit-free runWashing up in the laundry trough or bathroom — the kitchen sink goes earlyDust barriers at doorways, artwork and soft furnishings out of adjoining roomsA rough meal plan for the build, and a bin routine that does not rely on the kitchen
How long that arrangement has to last depends on scope and on when stone is templated — set out in how long a kitchen renovation takes.
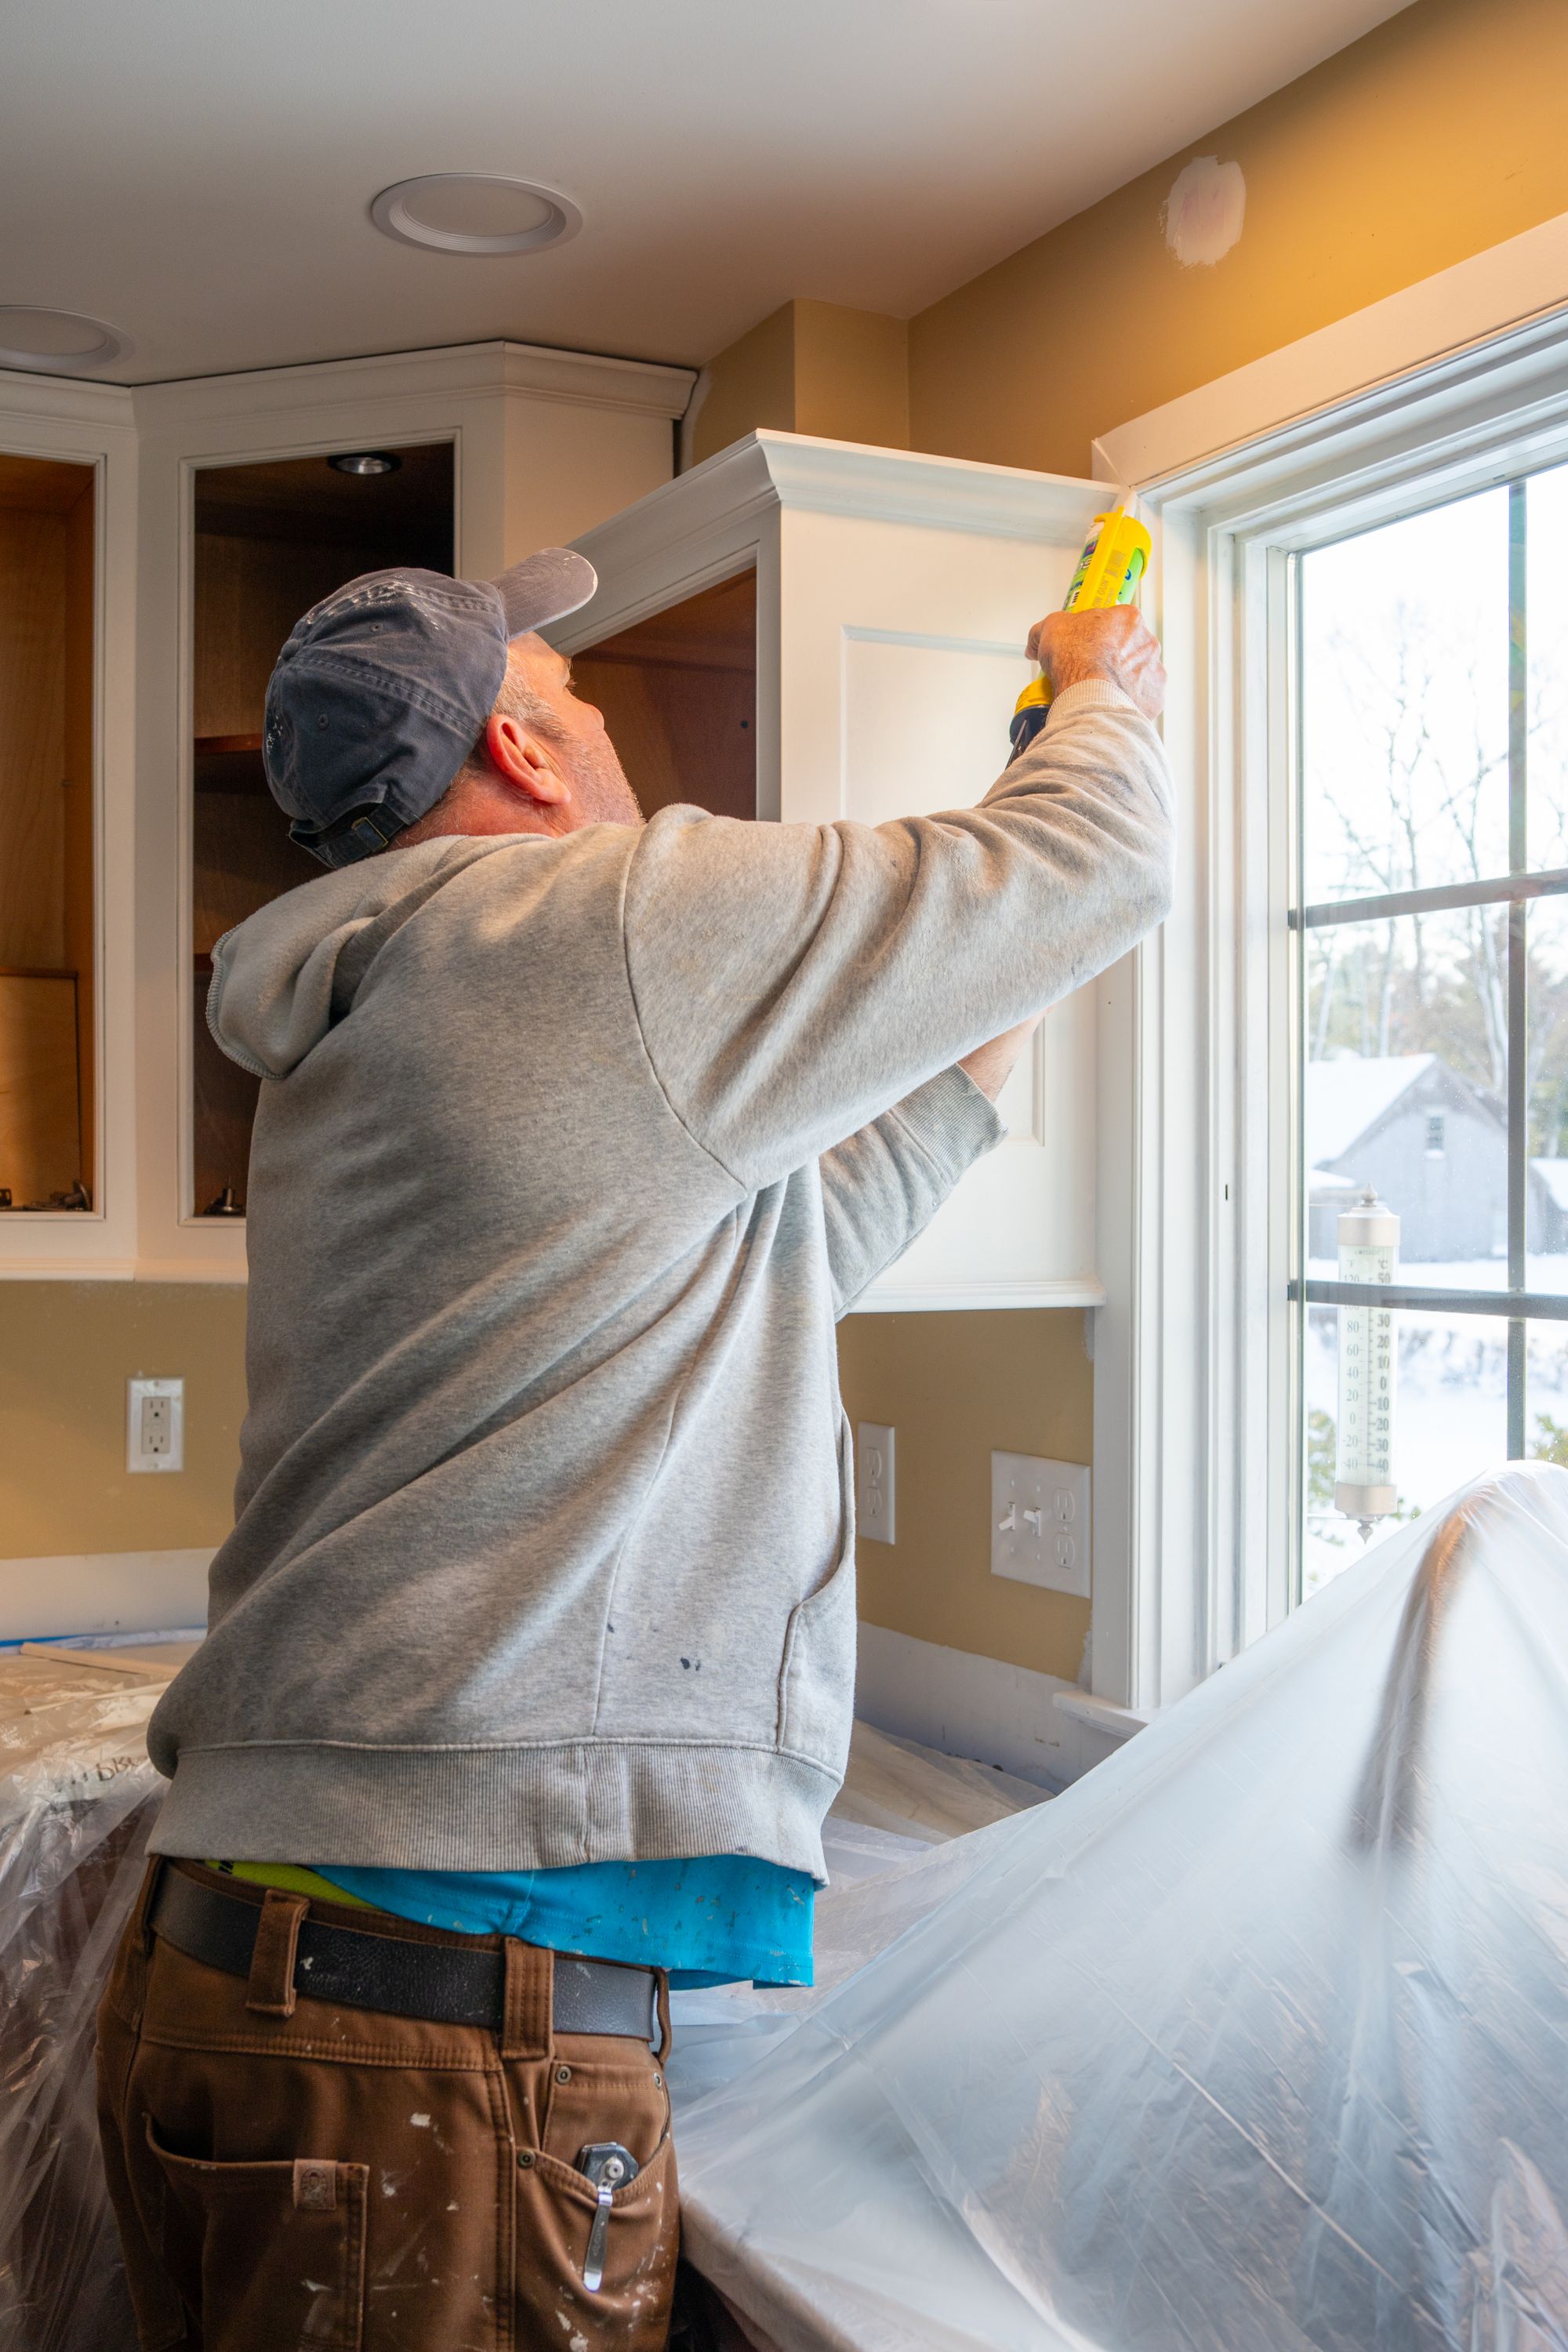
A tradesperson applies sealant around white kitchen cabinetry beside a window in a protected renovation area.

CHECKLIST COMPLETE · STAGE 01 NEXT

A prepared room shortens every stage that follows

Measurements recorded, appliances specified, selections final, approvals sorted, room empty. That is the whole of the homeowner’s share of a renovation, and it is why a complete kitchen renovation can run without stopping to wait for a decision. Bring the list to a consultation and stage one starts already half done.
READ NEXT
01   What drives kitchen renovation cost  — scope, cabinetry construction and surfaces02   Kitchen layouts explained  — galley, L, U and island planning03   Pantry and storage planning  — turning the clear-out into a cabinet list